Getting Glass Annealing Right (Without the Heartbreak)
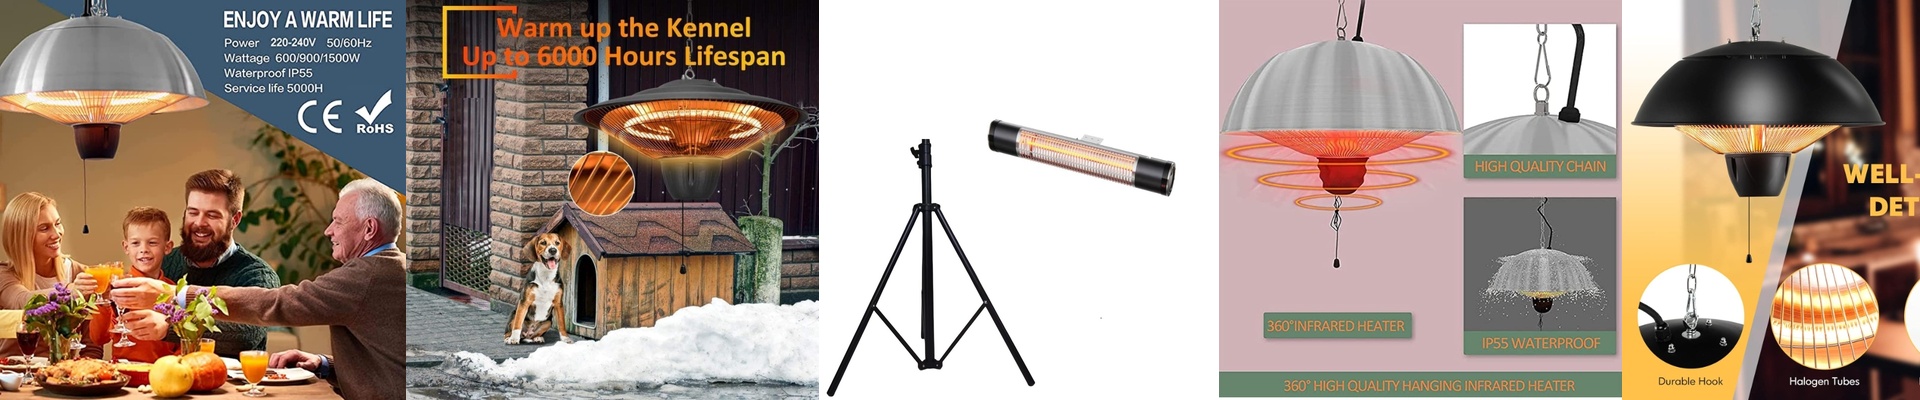
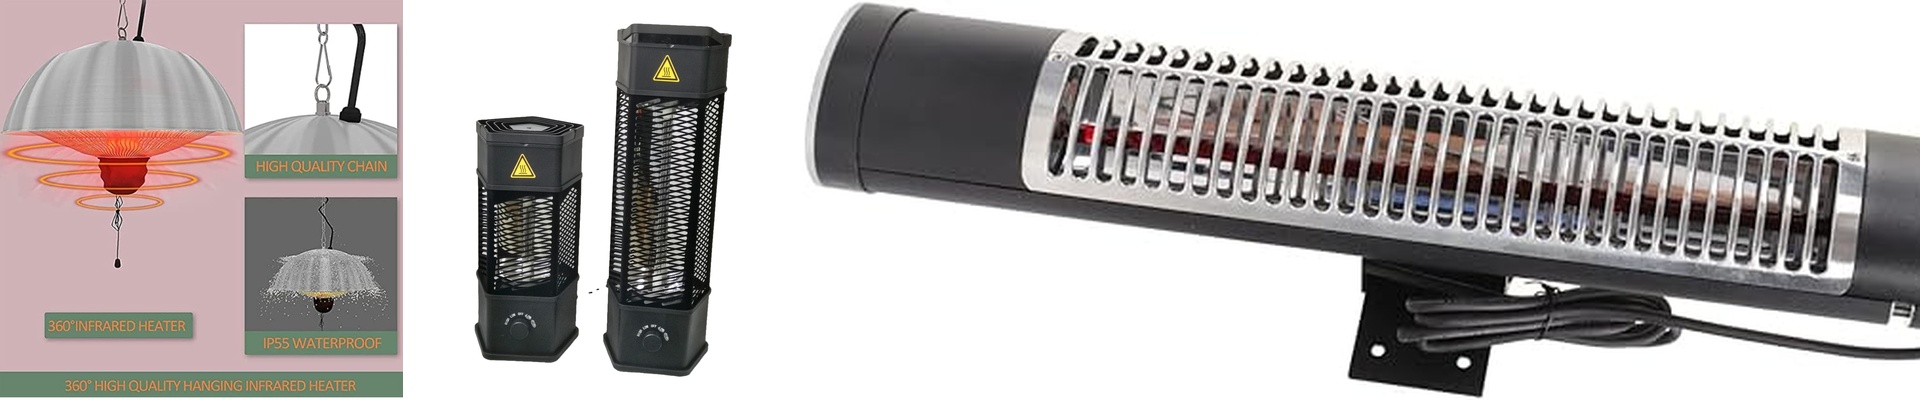
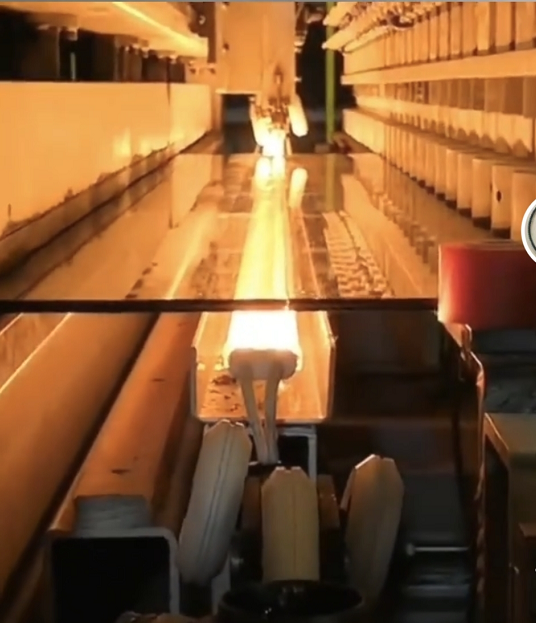
There is nothing worse than spending hours on a piece of lab glassware only to have it shatter because of internal stress. It usually happens during the cooling phase. If your temperature swings by even a couple of degrees, you’re playing Russian roulette with your flasks. One wrong move and they’ll explode the second you apply a vacuum or hit them with thermal shock. Why we obsess over 0.1°C Glass has this very specific “sweet spot”—the annealing point—where the molecules finally relax. You have to hit that temperature exactly, hold it, and then let it drop slowly. We use infrared emitters and high-frequency PID control because they’re fast. Really fast. Traditional resistive coils have a lag; they take forever to catch up. But IR? The moment you tweak the voltage, the heat changes. No more “overshooting” the target and ruining your batch. The secret is in the wave We specifically use short-wave emission. Here’s why: short-wave IR actually penetrates the glass wall. Long-wave heat just sits on the surface. By using short-wave, the core of a thick-walled vessel gets just as hot as the outside. Everything stays uniform. The catch (and how to handle it) Now, this kind of precision isn’t free. These IR arrays put a massive load on your power supply and your cooling fans. You can’t just plug these into a cheap controller and hope for the best. If your voltage ripples, your precision vanishes. You need a stabilized power source to keep that 0.1°C tolerance from drifting. A tip for the engineers When you’re wiring up your station, spend your time on the sensor placement. The IR heater provides the muscle, but the feedback loop is the brain. Pair your elements with a high-grade thermocouple so you don’t end up with “cold spots” in the chamber. It’s a simple fix that stops the breakage and keeps your scrap pile small.