Why we build our outdoor heaters to be modular
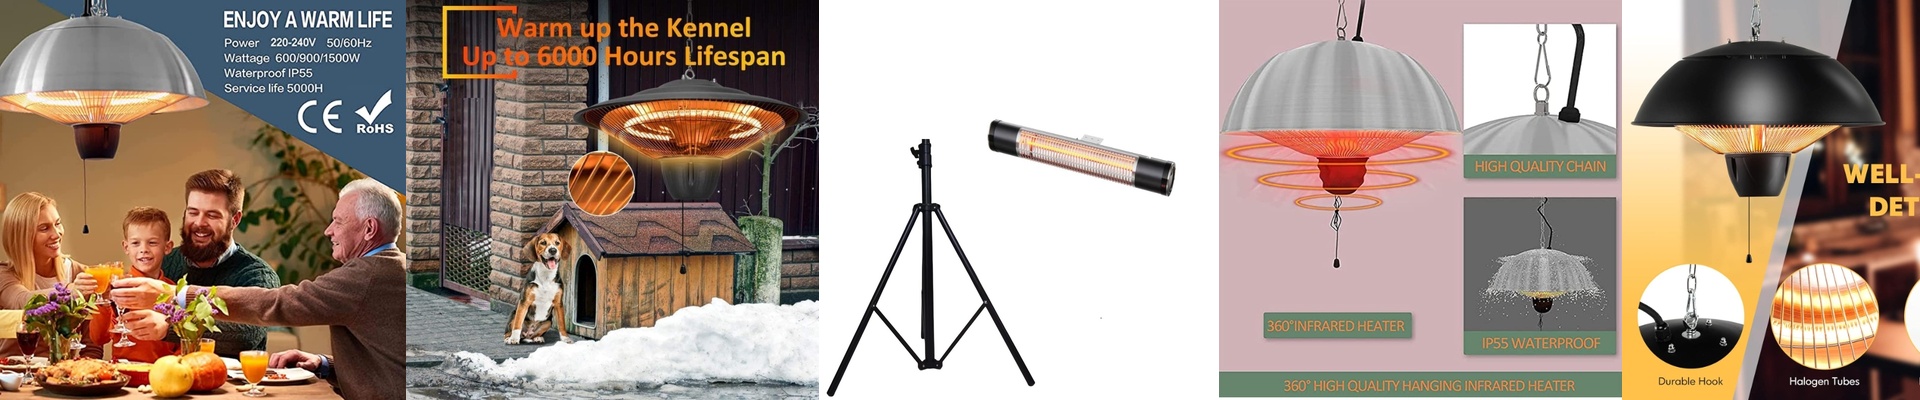
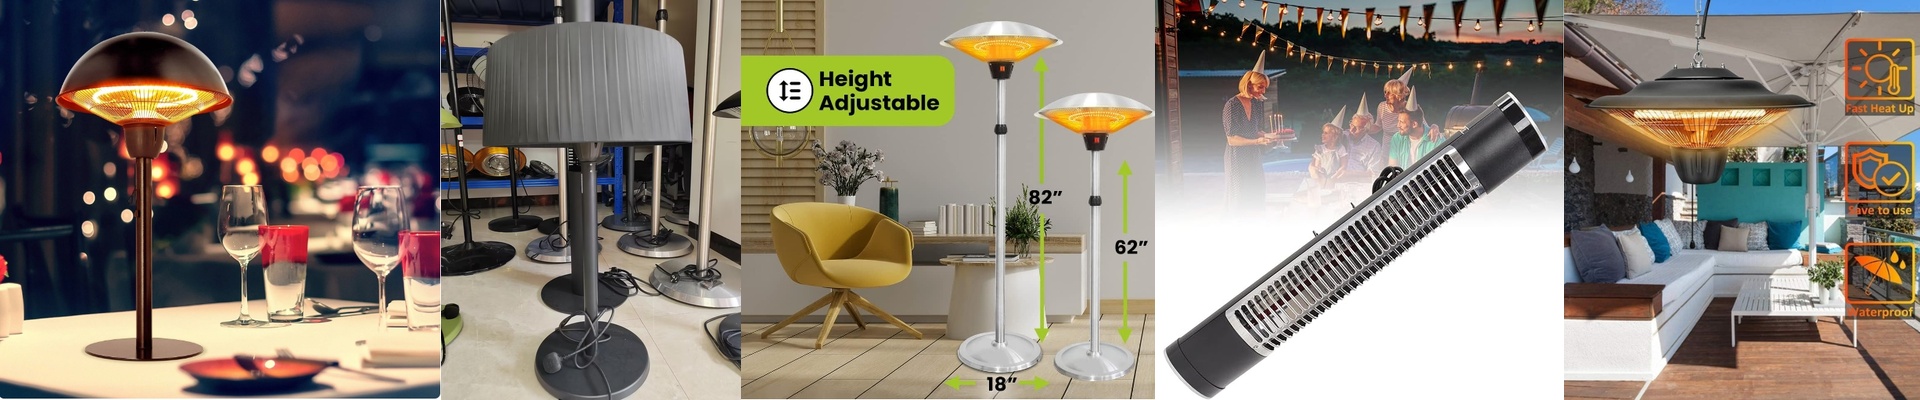
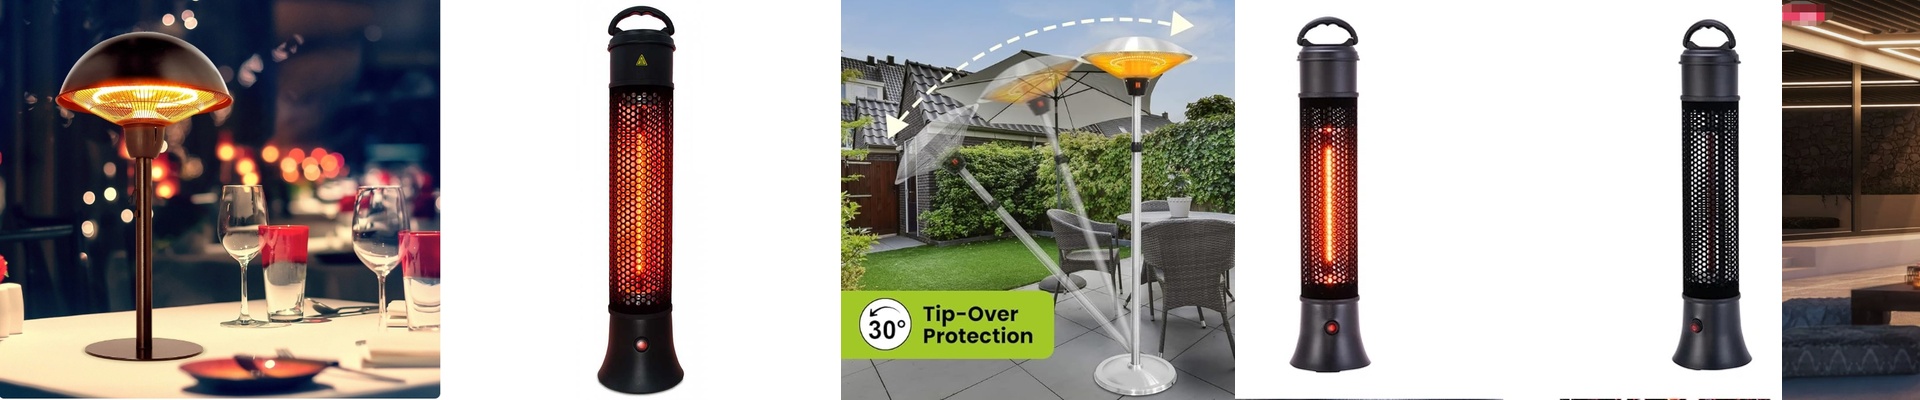
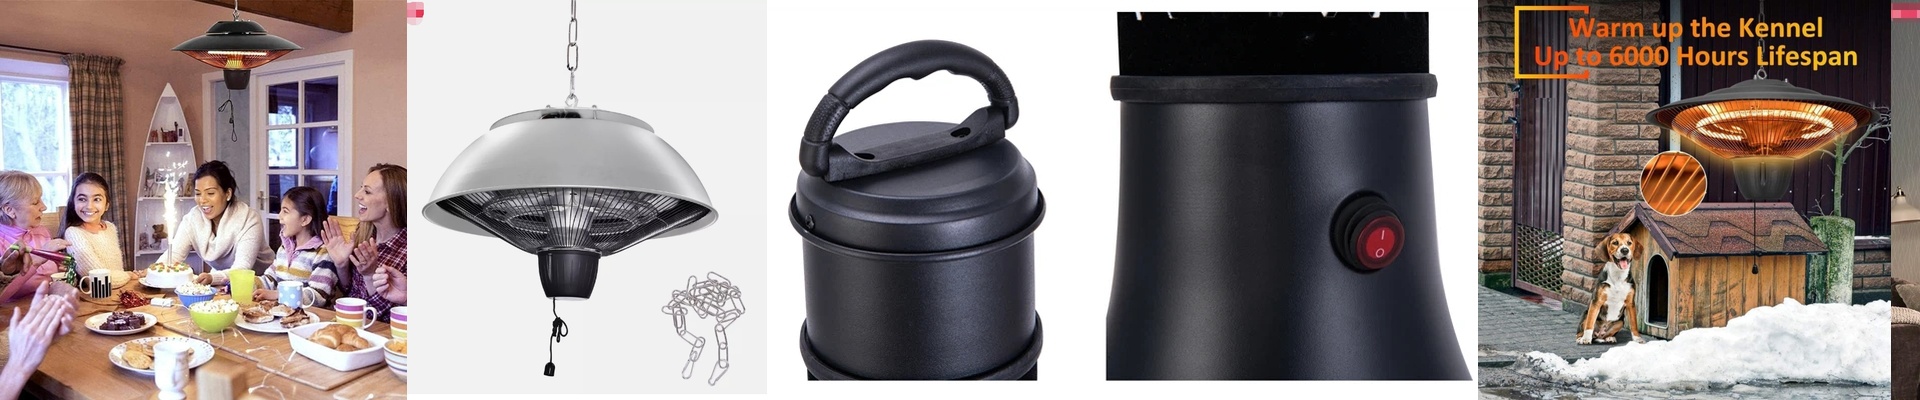
If you’ve ever put a heater in an outdoor pergola, you know the deal. Rain, humidity, and wild temperature swings just beat the hell out of the equipment. But here’s the thing: the metal frame usually holds up fine. It’s the heating element—the quartz tube—that eventually gives up the ghost. The real nightmare isn’t the tube burning out. It’s the thought of a technician having to practically dismantle your entire ceiling structure five years from now just to fix one part. Nobody wants that. The “Slide-In” Approach We decided to stop hard-wiring everything. Instead, we went with a modular, slide-in design. Think of it like a cartridge. Instead of spending your afternoon soldering wires while balancing on a ladder ten feet in the air, you just pull the module out, unplug the lead, and drop in a new one. It turns a grueling four-hour ordeal into a ten-minute job. It’s just easier. Keeping Water Out (and Air In) Getting a high waterproof rating is a bit of a balancing act. You want a tight seal to keep the rain out, but if you seal it too tight, the electronics overheat because they can’t breathe. We solved this by splitting the house. We kept the heating chamber separate from the control guts. The element stays dry and shielded from the rain, but the housing still lets enough air flow through to keep things cool. The Trade-off Now, look—no design is perfect. By adding these plug-and-play connectors, we’ve added more connection points to the circuit. If a plug isn’t seated quite right, you might get a bit of resistance. But we’re okay with that. We’d much rather deal with a loose plug once in a while than have to throw away an entire heater unit just because one tube died. One quick tip: if you’re installing these near the ocean, keep an eye on those contacts every couple of years. Salt air is brutal and can sneak into even the best housings. Give them a quick clean, and these things will easily last you a decade.